Post by Scoutpilot on Mar 9, 2017 18:34:59 GMT -5
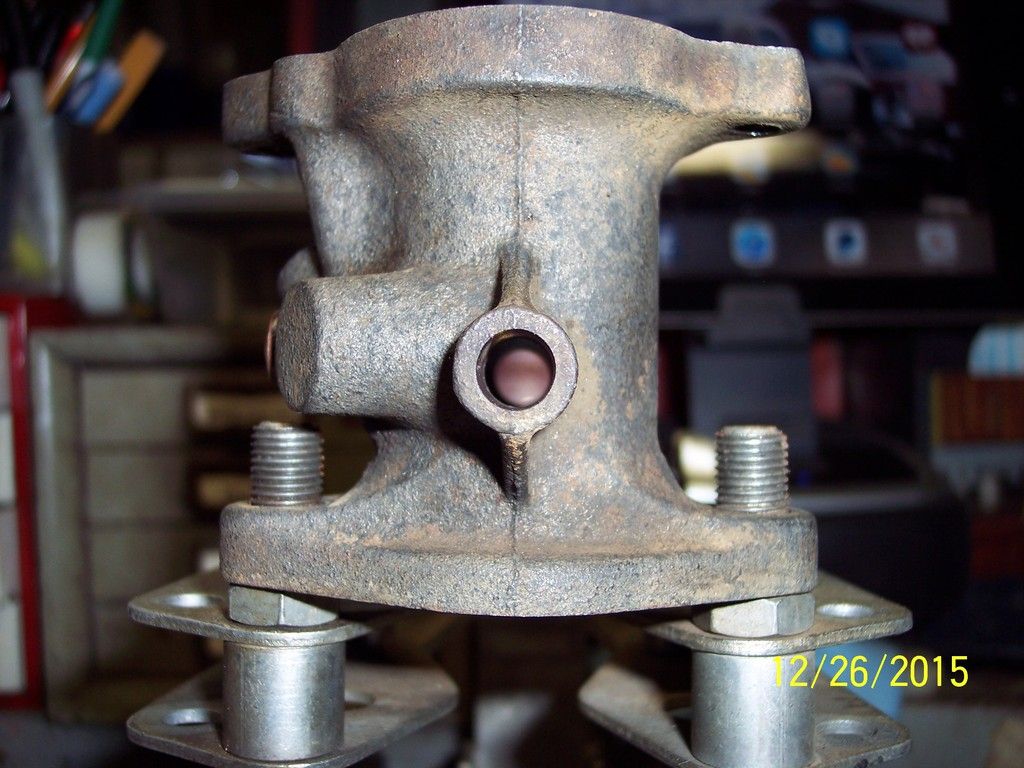
So, you want to do your own bushings? Okay. The first thing you need to do is determine whether or not your throttle flange is a good candidate for the procedure. Look at the photo below. This is a good candidate,
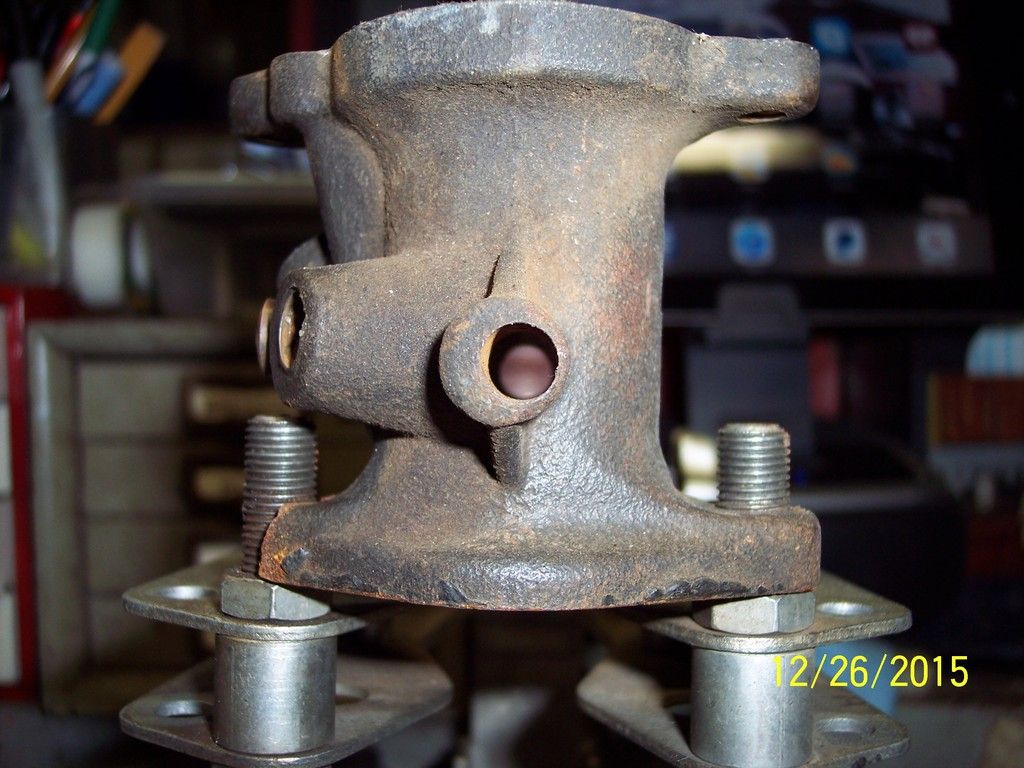
The one below is not. Notice how thin the bore wall is on the one side. Running a .375” (3/8”) reamer through this one will only cause it to crack or even lose a sizable piece of cast iron.
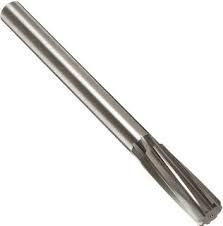
Here is the tool you will need. This is a six-flute, spiral-cut, bottom reamer in 3/8”.
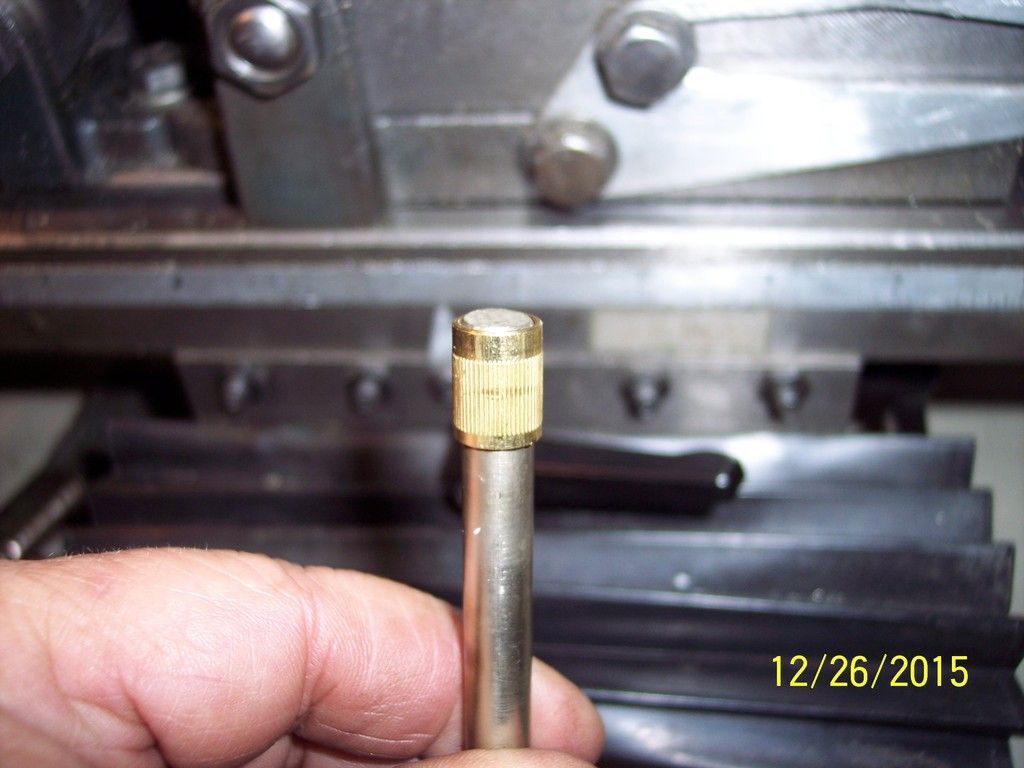
 You will be inserting the brass bushing you see placed on the brass rod. This bushing is 3/8” OD and .3125 (5/16”)ID. The widest smooth portion goes in the hole first.
Machinery; I prefer a milling machine because of the speed and feed control it offers. You can use a good quality drill press using a good quality machinist’s vise if you must. Pay very close attention to what you are doing when using a drill press. The vise must be absolutely secure and properly aligned. Use of a two-axis adjustable machinist’s vise is highly recommended in this scenario.
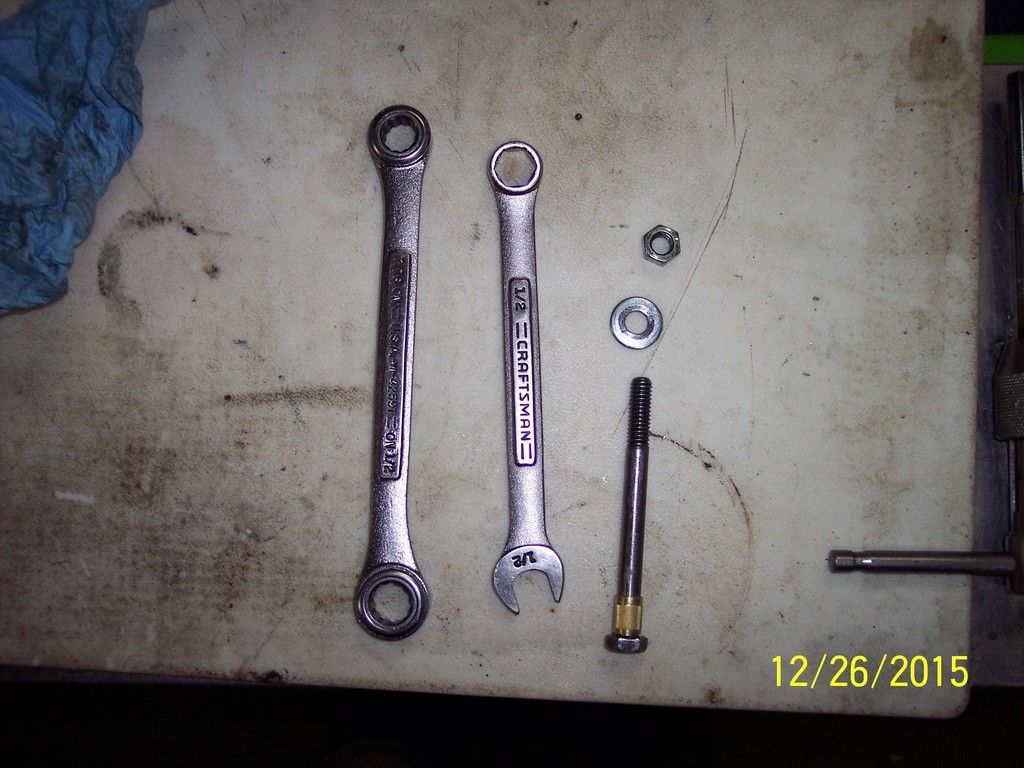
Hand tools; You will need a 5/16” bolt, nut and washer to draw the oiled bushing into the flange. You will need a fresh .3125” hand reamer to open the bushing to receive a new .3125” shaft. If you are using a NOS oversize shaft, carefully measure its diameter and use the appropriate sized hand reamer.
 Ready to start?
1. I use a 5/16” brass rod of the approximate length of a throttle shaft for alignment in the machine vise and chuck.
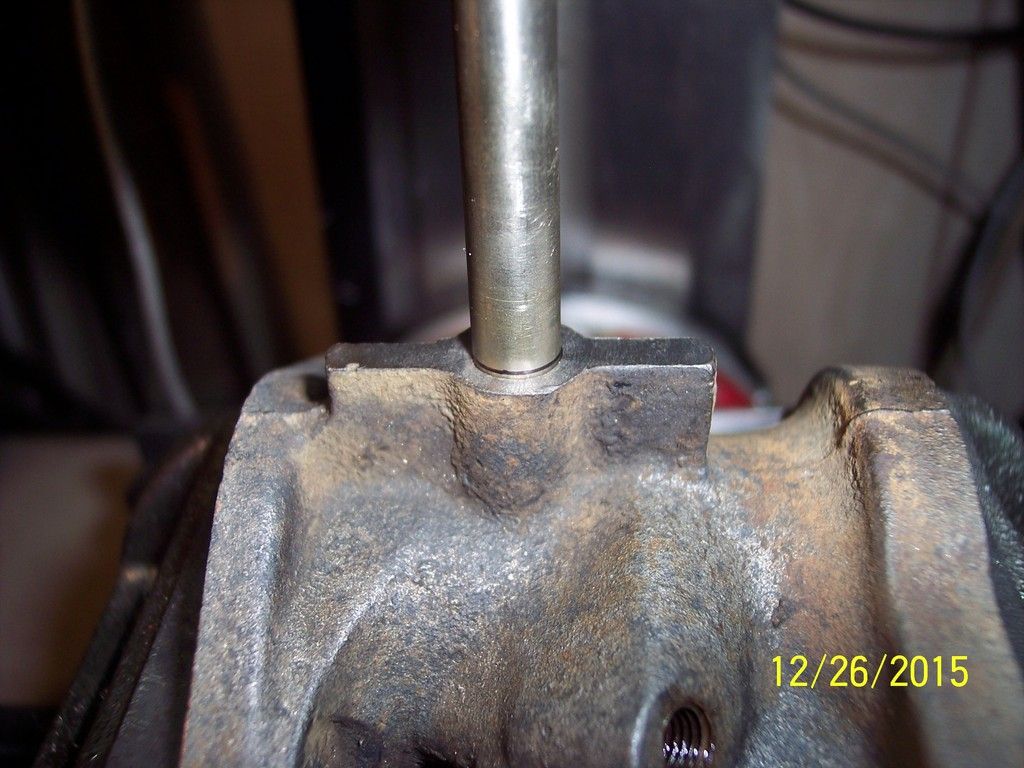
2. Insert the rod fully through the flange,
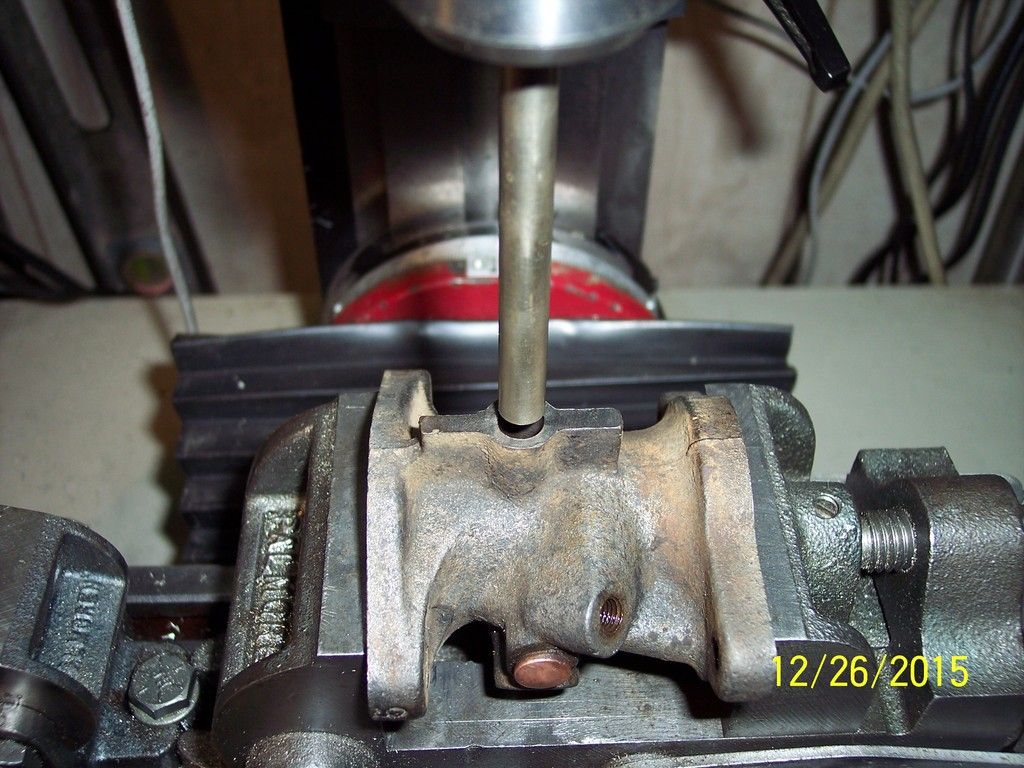
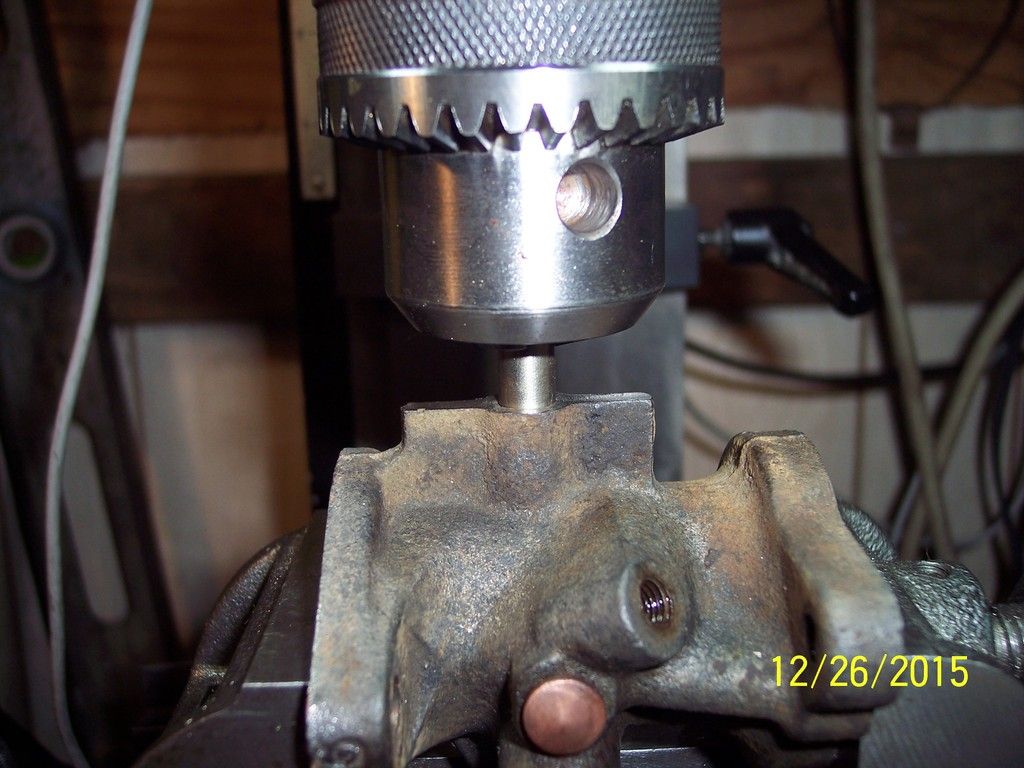
3. insert the upper rod end into the chuck and snug it.
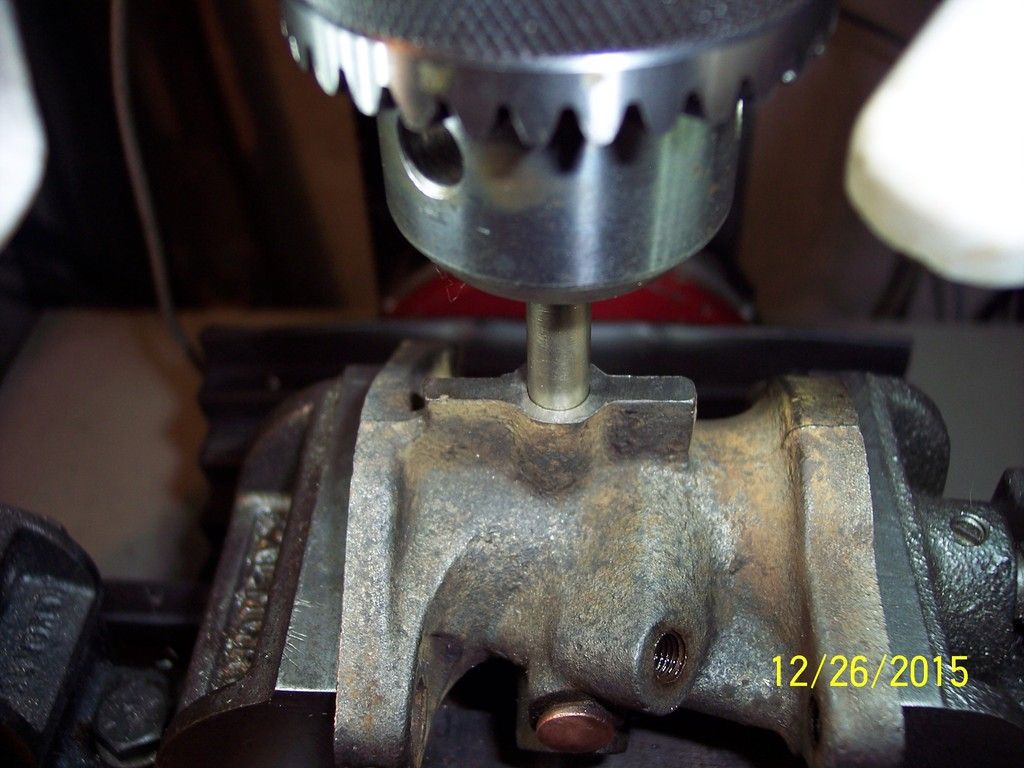 4. Lower the chuck and flange together into the vise and
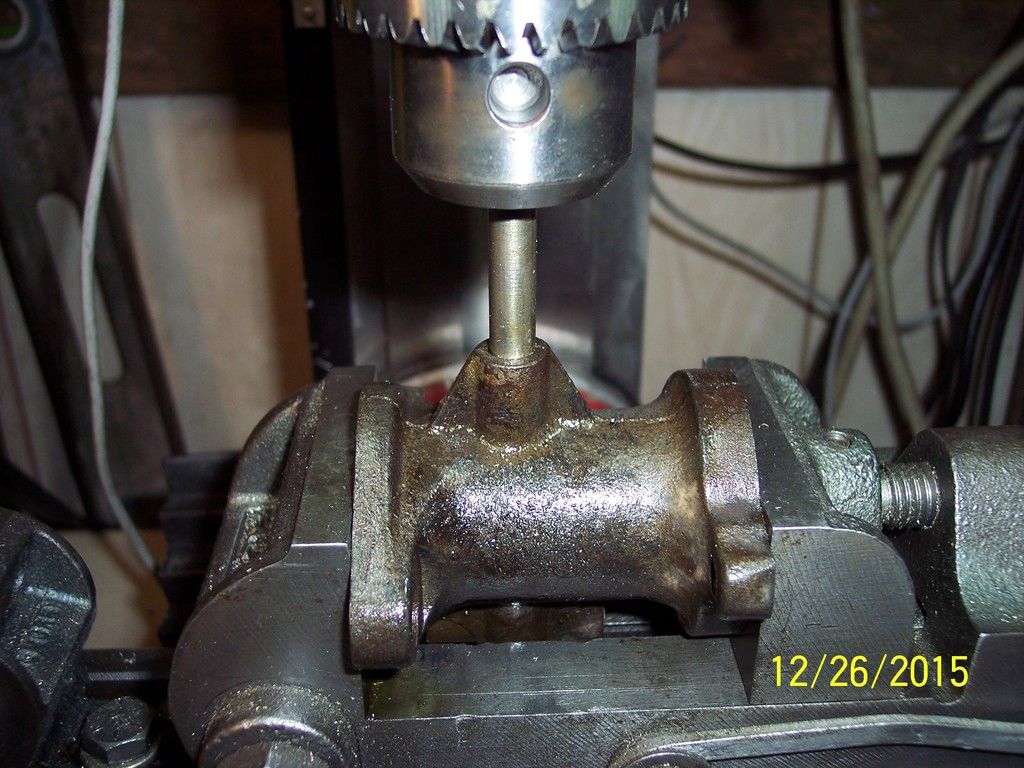 5. traverse the fixed end just to the point where, when wiggled, the flange does not move.
6. Tighten the vise on the flange.
7. Satisfy yourself that the shaft is as centered as possible in both holes. Note: the wear pattern in the existing flange bores will be off-center with the “in” side worn at the rear and the "out” side worn at the front. Minimal adjustment only.

8. Raise and lower the chuck a couple of times to ensure smooth travel of the rod through both bores. Remove the shaft.
9. Mark the 3/8” reamer with a stop ring, or ink or tape at a depth equal to the length of the bushing you will be installing.
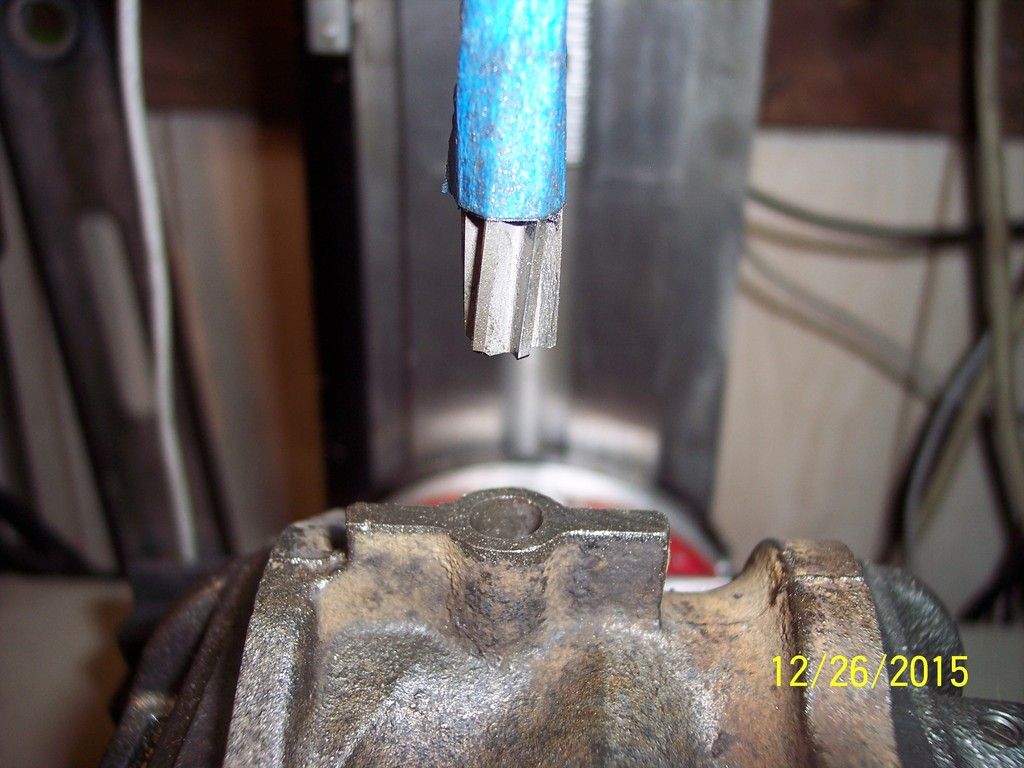
10. Chuck up the reamer.
11. Set the machine RPM to 512, +/-4 RPM.
12. Use a drilling coolant or oil continually during the entire reaming operation. I have a hand operated oil pump mounted next to my machine for this purpose.
Ready?
13. Machine on, double check the RPM.
14. Apply coolant to the reamer and the work piece
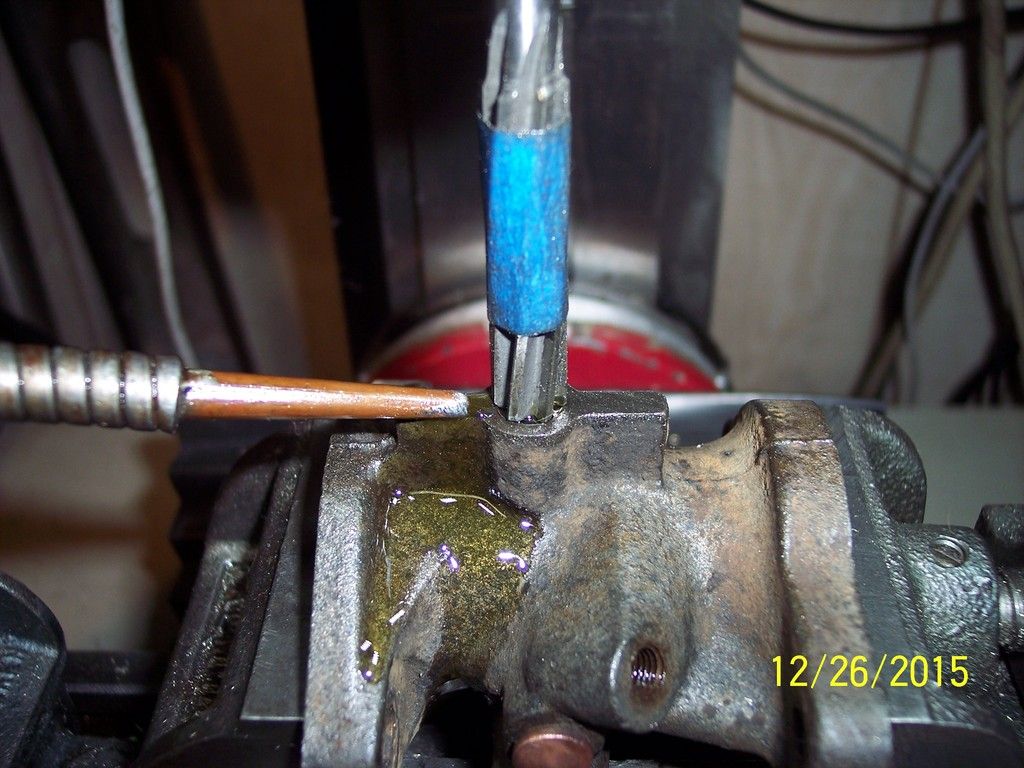
15. Plunge in slow, shallow movements, retract (raise) the tool at least once for every two plunge cuts, continually applying coolant to keep the tool cool and allow swarf to be withdrawn and flushed. Plunge, raise, plunge until the correct depth is achieved. DO NOT REAM ALL THE WAY THROUGH! Your throttle will become trash if you do. NOTE: It can be fixed if you do this, but it is a royal pain in the you-know-what!
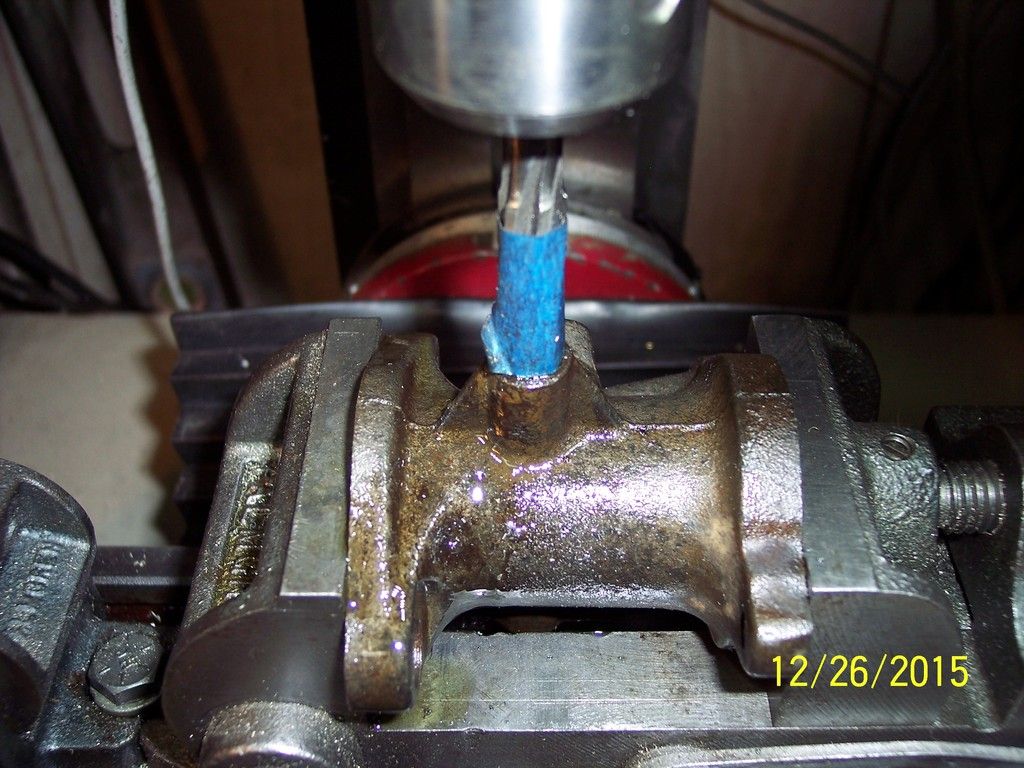
16. Retract the reamer and clean it.
17. Remove and clean the throttle flange to remove all metal swarf from the fresh bore.
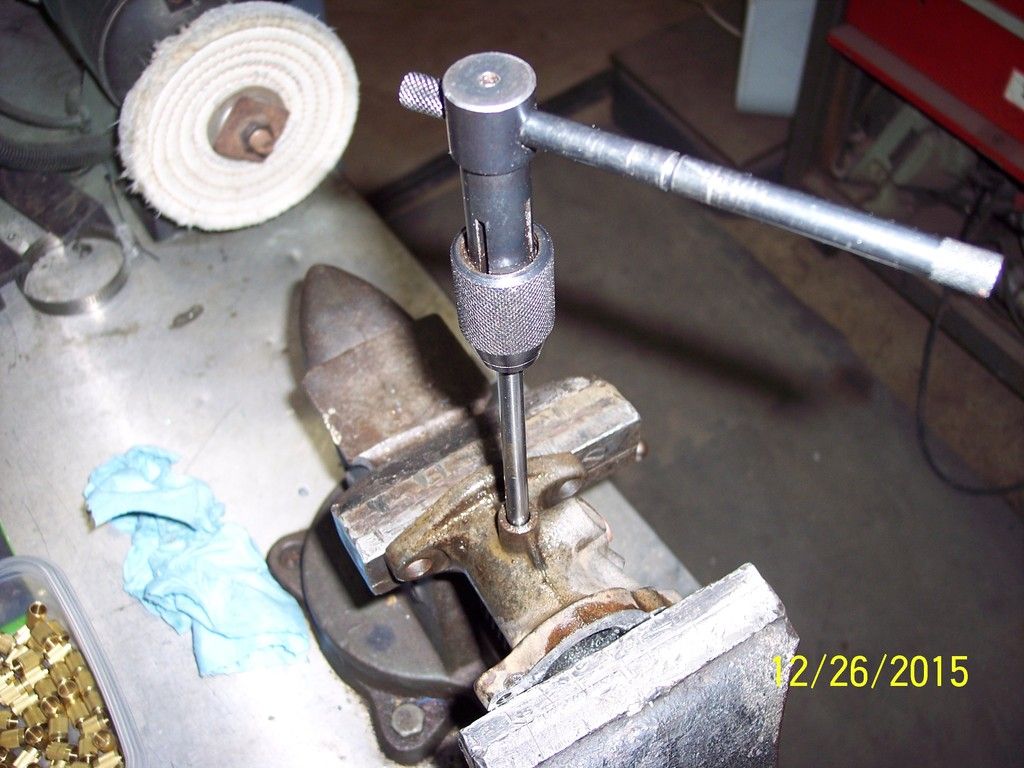
18. Place and lock the throttle in your shop vise with the fresh bore pointing up at two o’clock and the opposite end down (about seven o’clock) protruding enough to place a wrench on the nut of the bolt that you will use to insert the bushing.
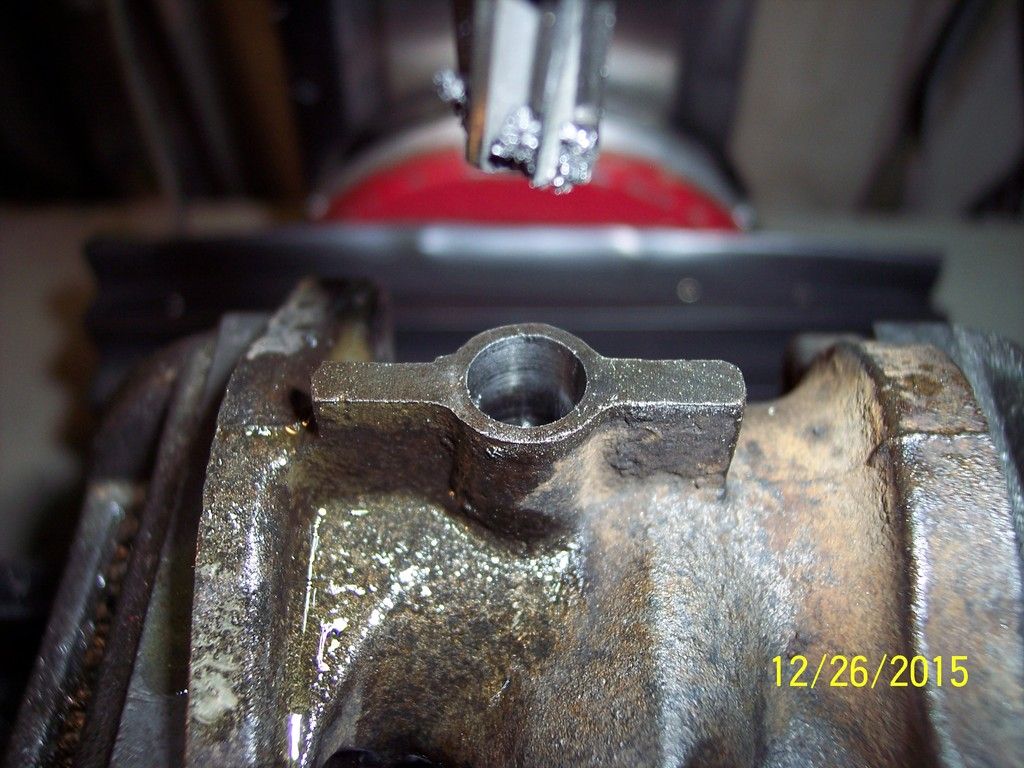
19. Place a bushing on the shaft of the bolt as shown.
20. Apply lubricating oil to the exterior of the bushing.
21. Place your wrenches and tighten the nut on the bolt until the bushing is flush with the lip of the fresh bore. Remove the nut and bolt.
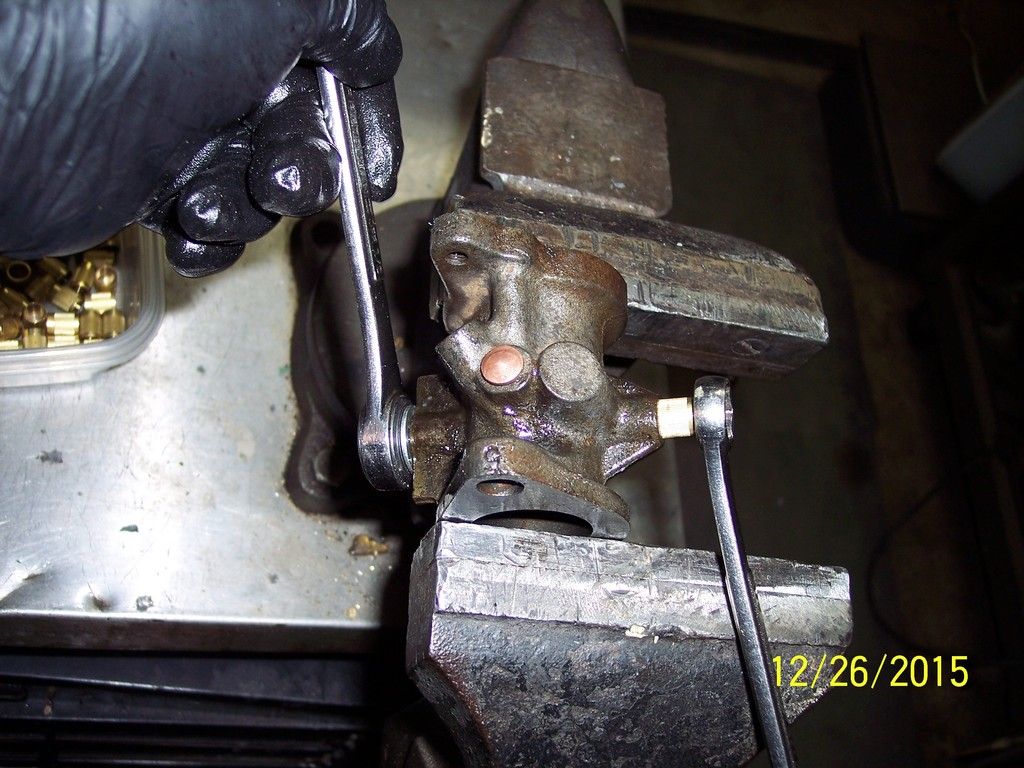
22. Loosen and move the flange in the vise until the bores are vertical and the fresh bushing down.
23. Place the .3125” hand reamer in the top bore and lower it until it contacts the opposite bore. KEEPING THE ALIGNMENT AS VERTICAL AND CENTERED AS POSSIBLE, ream the bore until only light friction is felt.

24. While still turning the reamer, withdraw it.
25. Test fit the new throttle shaft.
26. Repeat steps 2 through 25 for the opposite side of the flange.
In summary. This is the procedure to use for a WO flange. If you are wanting to bush a YF flange ask me how. Only one extra step is required.

The one below is not. Notice how thin the bore wall is on the one side. Running a .375” (3/8”) reamer through this one will only cause it to crack or even lose a sizable piece of cast iron.


Hand tools; You will need a 5/16” bolt, nut and washer to draw the oiled bushing into the flange. You will need a fresh .3125” hand reamer to open the bushing to receive a new .3125” shaft. If you are using a NOS oversize shaft, carefully measure its diameter and use the appropriate sized hand reamer.


1. I use a 5/16” brass rod of the approximate length of a throttle shaft for alignment in the machine vise and chuck.


6. Tighten the vise on the flange.
7. Satisfy yourself that the shaft is as centered as possible in both holes. Note: the wear pattern in the existing flange bores will be off-center with the “in” side worn at the rear and the "out” side worn at the front. Minimal adjustment only.

9. Mark the 3/8” reamer with a stop ring, or ink or tape at a depth equal to the length of the bushing you will be installing.

11. Set the machine RPM to 512, +/-4 RPM.
12. Use a drilling coolant or oil continually during the entire reaming operation. I have a hand operated oil pump mounted next to my machine for this purpose.
Ready?
13. Machine on, double check the RPM.
14. Apply coolant to the reamer and the work piece


17. Remove and clean the throttle flange to remove all metal swarf from the fresh bore.
18. Place and lock the throttle in your shop vise with the fresh bore pointing up at two o’clock and the opposite end down (about seven o’clock) protruding enough to place a wrench on the nut of the bolt that you will use to insert the bushing.

20. Apply lubricating oil to the exterior of the bushing.
21. Place your wrenches and tighten the nut on the bolt until the bushing is flush with the lip of the fresh bore. Remove the nut and bolt.

23. Place the .3125” hand reamer in the top bore and lower it until it contacts the opposite bore. KEEPING THE ALIGNMENT AS VERTICAL AND CENTERED AS POSSIBLE, ream the bore until only light friction is felt.

25. Test fit the new throttle shaft.
26. Repeat steps 2 through 25 for the opposite side of the flange.
In summary. This is the procedure to use for a WO flange. If you are wanting to bush a YF flange ask me how. Only one extra step is required.
